KHHsubs
Basics
Objectives
Ryu ga Gotoku Kenzan is an action-adventure game in which you can enjoy a deep story and exciting sword combat. You take control of Miyamoto Musashi, who is working to unravel the conspiracy that led to him being set up by the Tokugawa shogunate.
The game consists of a prologue plus 12 chapters. In addition to the main story there are 140 independent substories divided into three categories. See the table to see how this guide distinguishes between parts of the game.
Progression Symbols
5-13 |
Prologue is indicated with "0", so that begins at 0-1. Final chapter starts at 12-1 |
Requests 1 Commissions 101 Bounties 121 |
There are 100 requests, 20 commissions (beginning at 101), and 20 bounties (beginning at 121), bringing the total substories to 140 |
Story Progression and Time Changes
In this game, the time of day will change as you progress through the story. There are three times of day: Day, Evening, Night. Check the image below to get an idea of how this works.
A word of caution: there are some substories which can only be done at specific times of the day. The time of day will not progress until you trigger it via story progression, so use this time before heading to the next story destination to complete any available requests, commissions, and bounties.

There can be times during the story when the time suddenly switches from day to night (and vice-versa), so it's a good idea to save before heading to a story destination.
An example of how the time of day changes during story progression

Main Story and Free Time
The game consists of the main story, which is essential for completing the game. Everything else is "free time". The story unfolds in the same way for all players, but what happens outside of that is up to the player.
You'll be up against lots of tough opponents so it's a good idea to use your free time to prepare for such battles by getting hold of weapons, equipment, recovery items, etc. At the same time, the player can can use their time between main story objectives to play mini-games or experience the substories.
Story Components
The two main components of the story are "Events" and "Battles".
As you progress through the story, the mystery that lies at the heart of it will become clear. Kiryu meets all kinds of people during this journey and there are lots of cutscenes to enjoy. These cutscenes can be viewed again at any time at Kiryu's house. You can always go back and watch them to remind yourself of important moments in the story.
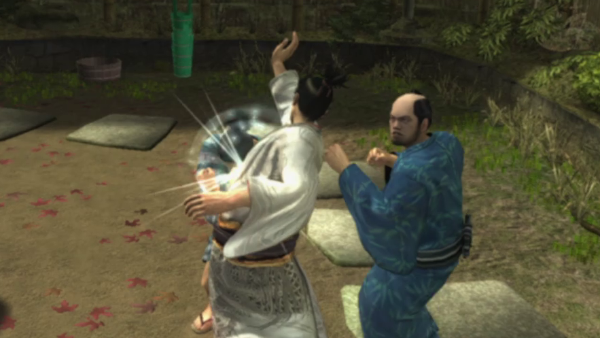
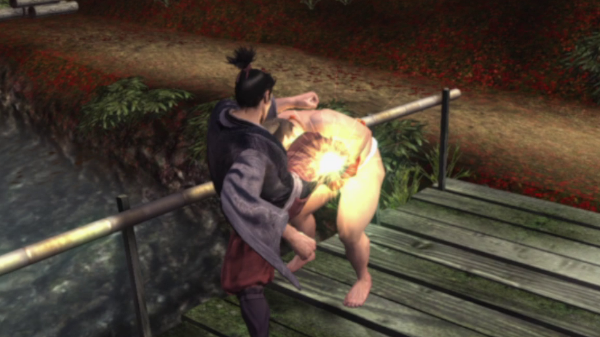
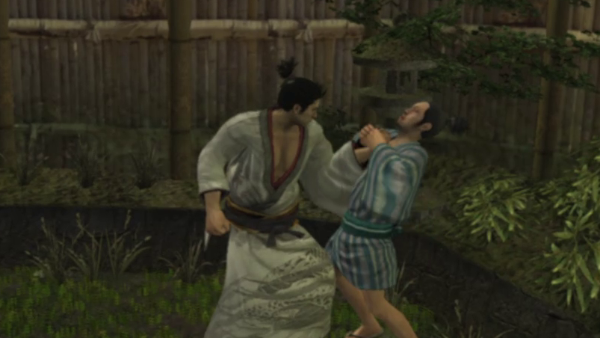
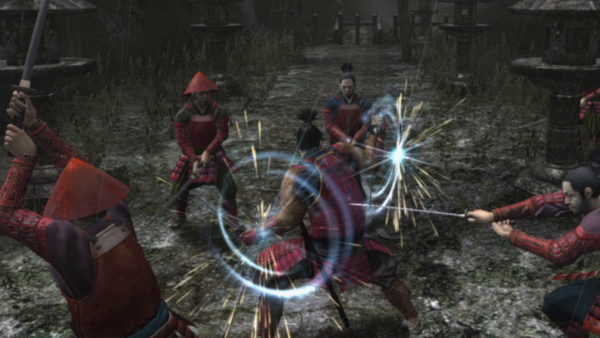
When it comes to battles, Kiryu comes up against many enemies in intense battles. This is not just limited to one-on-one fights; there are times when Kiryu will be up against many waves of enemies while escaping from a particular building or location.
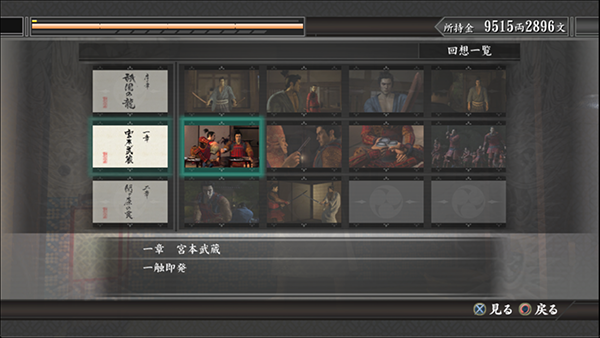
You can view previously seen cutscenes at Kiryu's house.

Some battles also feature quick-time events.
What can do you in your free time?
In addition to the substory types - requests, commissions, bounties (see below) - there are many different things you can experience outside the main story. For example, visiting the yujo at brothels, looking after turtles and entering them in races, do various kinds of training to learn new techniques and heat actions, improve and create new weapons at the blacksmith, create new items via inventions, learn new heat actions via revelations, and so on.

When visiting a yujo, you will spend your time chatting while eating and drinking with her. If things go well, you can play certain mini-games with her.
Substories, which can be checked in the notebook section of the pause menu
Requests

The main type of substory in the game. In requests, you help out people for all kinds of things. There are 100 requests in the game. Some of them are part of a "series", with recurring characters and developing storylines.
Commissions

Substories relating to Kiryu's work as a kakemawari. There are 20 commissions in the game, most of which occur in Gion. You will be collecting payments and dealing with trouble in these substories.
Bounties

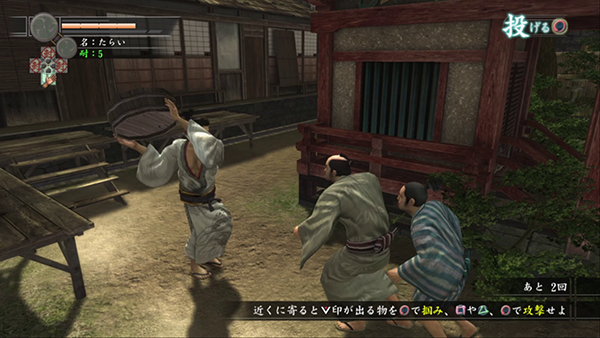
Bounties get posted on the notice board in Rakugai. There are 20 bounties in the game and all of them involve a fight. Some of these opponents are strong so you'll need to come prepared for these substories.
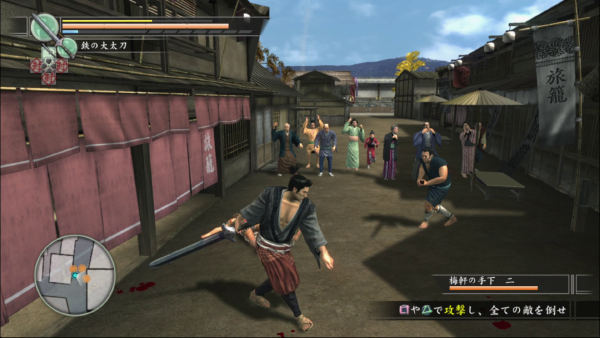
Exploration
You'll be in exploration mode whenever you are not in a fight, training, or playing a mini-game. See the picture below to see what exploration looks like.
It's always important to know where you are, so refer to the map whenever you are looking for a particular location or person.

There's a lot going on in Gion and Rakugai, so it's a good idea to familiarise yourself with their maps.
Exploration Interface

| 1 | Intoxication | An icon representing how drunk Kiryu is |
| 2 | Talk | This shows when you are near someone you can talk to. There are other action icons which show depending on the situation, including "look" and "enter" |
| 3 | Map | A map showing Kiryu's location. You can press L3 to zoom in, zoom out, and remove the map completely |
| 4 | Location | The name of your current location shows here |
| 5 | Conversation Partner | This icon above an NPC means you can talk with them |
Movement
Left Analogue Stick

Use the left analogue stick to move Kiryu around the map
Talk

You can talk to NPCs with an icon above their head.
Enter

The enter icon appears when you are near a building you can enter. Besides shops and restaurants, there are some story-related locations you can enter.
Camera Reset

Press to reposition the camera to face where Kiryu is facing. You can also use R3. There may be times when resetting the camera doesn't quite work, such as in narrow spaces.
Pause Menu
START button

Pressing the start button pauses the game and brings up a menu. Check the pause menu section on this page for details.
Reset
SELECT button

Pressing select when Kiryu is standing still gives you the option to exit out of the game and go back to the title menu. This does not save the game, so doing this means you'll have to reload from your last save.
Pause Menu
Press the start button to bring up the pause menu, which has 10 sections. The notebook section, containing requests, commissions, and bounties is explored on the "free time" section of this page. The remaining 9 are shown below, with a brief explanation about what they contain. It's worth going through each section to get familiar with where everything is. In particular it's worth looking at the abilities and completion sections, since there is a lot of stuff in there and you'll likely be checking those sections often.

You can even bring up the pause menu in the middle of a battle. You could do this to use healing items, or to check your abilities.
Pause Menu Section Information
Inventory
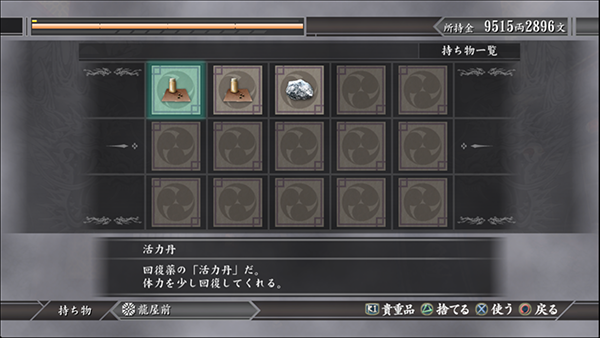
Shows the items Kiryu currently has in his possession. You can use the item storage system at save points on the map as well as at Kiryu's house in Gion. Pressing in this section will show you all the key items you have.
Equipment

Here you can check and change the weapons and armour Kiryu currently has equipped. There are two equipment categories - Inside Gion and Outside Gion. You cannot equip swords in Gion.
Map

Shows Kiryu's current location. Pressing will let you zoom in closer. Pressing will let you check all the different maps across Kyoto.
Abilities

Here you can check stats such as Kiryu's level and EXP. You can also check all the abilities Kiryu has learned and can perform in battle.
Letters

You can check all the letters Kiryu has received so far in here. Letters you have already read are marked with an "opened" symbol. The top-right of this section shows how many letters you have and how many of them you have read.
Completion

Here you can check on your progress in 9 different completion categories.
Characters
Look at information about various characters Kiryu meets on his journey. This information gets updated as you progress through the story.
Terminology

A dictionary that explains the various terms used throughout the game.
Options

Change game settings in here.
Combat Basics
This section covers all the basics of the combat system, including an introduction to the different combat styles Kiryu can use - brawler, single sword, two sword, greatsword. When you first use a style during the main story, you get a tutorial explaining how to use it. Simply follow the instructions to get through this section.

You can't be defeated in a tutorial, so you don't have to worry about getting a game over in these sections.
Types of Weapon
Before explaining the different aspects of the combat system, let's take a look at the various weapon types you can equip.
Kiryu's equipment changes depending on whether he is in Gion or outside it. Outside Gion you can switch between styles with the d-pad. Pressing right switches to single sword, left switches to two sword, down switches to brawler (unarmed), and up switches to whatever weapon you have equipped in that slot. Besides greatswords and shortswords, you can also equip special weapons in this slot.
Within Gion, the down direction is also the brawler style, but the other directions switch to whatever special weapons you have equipped in those slots. You can only use the brawler style and special weapons within Gion.
Kiryu's Weapons
| Brawler | Unarmed style of combat. You can't defend against bladed attacks, but this is the only style with which you can grab and throw enemies. |
| Single Sword | A style using a single longsword. You can use the and buttons to perform combo attacks. This style has a good balance between attack and defence. |
| Two Swords | A style using a longsword in the right hand and a shortsword in the left. You can block in all directions with this style and the attack speed is fast. |
| Greatsword/Club | A style using a two-handed greatsword or club weapon. You can block bullets using this style, however the greatly reduced movement speed when using the style is its big weakness. |
| Special Weapons | Various light single-handed weapons, such as umbrellas and pipes. These are the only weapons you can equip in Gion. |
Battle Screen
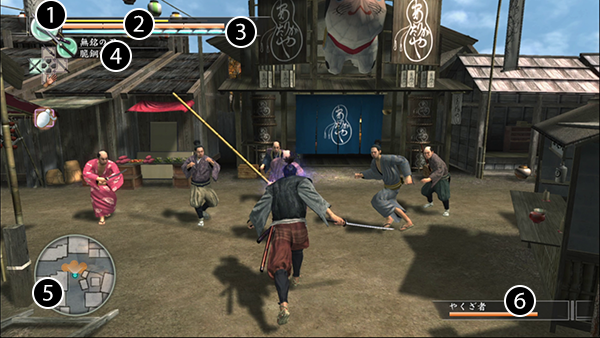
| 1 | Experience | An experience gauge indicating how close you are to reaching the next level. When this fills, you level up. |
| 2 | Health Bar | A visual indication of Kiryu's current health. When this drops below 20%, it flashes red. |
| 3 | Heat Gauge | A visual indication of how much "fighting spirit" (heat) Kiryu has built up. When this gets to a certain amount, you can use heat actions. |
| 4 | Equipped Weapon | An icon showing the weapon Kiryu currently has equipped. Pressing up switches to your greatsword or special weapon, right switches to your single sword, down switches to brawler, and left switches to two swords. In Gion these all become special weapon slots, with the exception of brawler. |
| 5 | Map | A map showing Kiryu's surroundings in battle. Pressing the L3 button will switch the map settings between zoomed in, zoomed out, and hidden. The blue dot is Kiryu, yellow(/light orange) dots are enemies, dark orange dots refer to tough enemies like bosses. |
| 6 | Enemy Health Bar | Visual indication of your opponent's health in battle. |
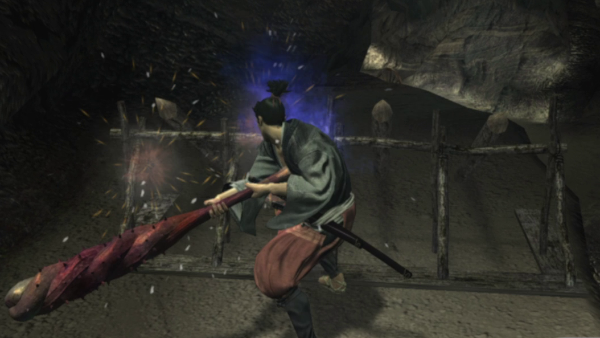
Brawler Style
You'll mainly find yourself using this style in Gion, but there are times outside of Gion when you might find it useful to grab enemies or use a weapon lying around in the battle area.
This style's biggest weakness is its inability to defend against enemies using swords. However, through training at the Gion Martial Arts Dojo, you can learn abilities and heat actions which can help you overcome that weakness.
You can block bladed attacks with some of the weapons you can pick up. Picking up heavy weapons will slow you down though.
Fundamental Abilities of the Brawler Style
Unarmed Strikes
Open-palm strikes. Can strike up to 3 consecutive times. Landing all 3 hits will cause an enemy to stagger. These attacks generally don't build up much of your heat gauge, but landing all 3 gives you a decent heat boost.
Kick
Kicking is a strong attack that has a relatively large gap between consecutive strikes. It builts up a lot more heat than the open palm strikes and can also strike enemies who are guarding. It's good attack to use against enemies who are guarding against your open palm strikes.
Heat Actions

When you have accumulated a certain amount of heat, a heat action indicator can appear at the top-right of the screen. When you press when you see the icon, you will use a heat action. See the heat actions section of this guide for details about the various heat actions.
Grab Enemies
You can grab hold of enemies by pressing near them. You can strike grabbed enemies with the or buttons. can strike up to 3 times, while is a single strong kick which sends an enemy to the ground.
Throw Enemies

Pressing after grabbing an enemy will throw them. This will send an enemy to the ground. Pressing near an enemy on the ground will stomp on them.
Pick Up Weapons

You can pick up items lying around in the battle area by pressing near them. You can attack enemies using these weapons, but each weapon can only strike enemies a certain number of times before breaking.
Block

This will block attacks from the front and sides. Even if an enemy breaks your guard with a strong attack or weapon, you won't take damage. However, you cannot block against sword attacks.
Strafe

Holding will lock onto the nearest enemy. However, you can't run or turn around while doing this, so it might not be a good idea to use when enemies are behind you.
Evade

Pressing along with a direction on the left analogue stick will dodge in that direction. Pressing a second time while dodging will perform a dodge roll (combining this with a direction on the left analogue stick will dodge roll in that direction).
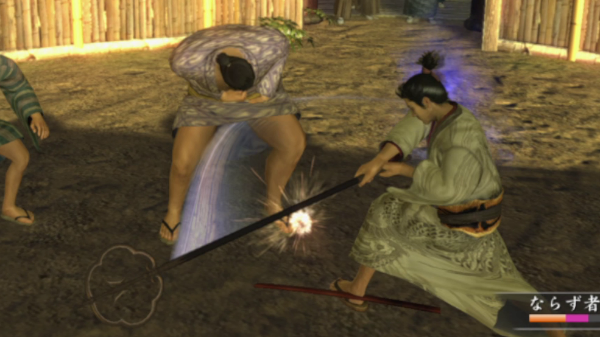
Single Sword Style
The basic attacks of this style are for a slashing attack and for a stabbing attack. You can perform combo attacks with the button, which after training can perform up to 4 consecutive strikes. Fundamental abilities such as heat actions, blocking, strafing, and evading are the same as they are for the brawler style. You can also equip a wooden sword, but cannot perform single sword heat actions with one of those equipped.

In the event you pick up a sword dropped by an enemy in Gion, the game treats it as if it is a wooden sword (you don't use regular sword abilities or heat actions, just wooden sword ones).
Fundamental Abilities of the Single Sword Style
Strong Attack

You can hit a strong attack by pressing after a attack. This builds up more heat than regular attacks and can also be a useful ability to use when surrounded by enemies, as it can create some distance.
Guard Break
Pressing will perform a kick that breaks an enemy's guard. This is useful to use against enemies that are good at blocking. However, when you use this ability there is quite a big gap before you can perform another action, leaving you open to attacks, so it's risky to use when there are a lot of enemies near you.
Zanshin
Hold after strong attack
You can perform zanshin by holding down after landing a strong attack. This will build up your heat gauge, so it's a useful technique if you want to perform more heat actions. However, this technique does leave you open to attacks.
Two Sword Style
With the two sword style, you fight with a longsword in your right hand and a shortsword in your left hand. Pressing performs combo attacks, making use of both swords. The attack damage with each strike is reduced, but attack speed is faster, so you end up doing more damage than you would in the single sword style. However, attack force is also reduced in this style. This means you'll struggle more against blocking enemies than you would when using the single sword style.

Pairing up matching longswords and shortswords will result in bonuses to attack damage and attack force.
Fundamental Abilities of the Two Sword Style
Single-Hand Strike

Alternating attacks with the right and left swords when using combo. Though after increasing the number of combo attacks with this style through training, combos from the 4th strike onwards will use both swords to strike the enemy.
Two-Hand Strike

Pressing will launch a strike using both swords. This is more powerful than the single-hand strikes, but using this will leave you open to attacks. Pressing during a combo will launch a strong attack.
Multidirectional Guard
The most notable feature of the two sword style is its ability to defend against attacks from all directions, including from behind. It's extremely useful when surrounded by enemies, but it cannot be used to defend against gunshots or strong attacks, so you'll have to avoid those using the button.
Greatsword Style
This style refers to either the greatswords or clubs you can equip. There are some minor differences between the two types but mostly are the same. Both types are very powerful and can defend against a barrage of sword attacks with no problems. The attack range for this style is very large, so it's good for clearing out groups of enemies.
However, it has a couple of weaknesses - each swing of this weapon is slow and Kiryu cannot run while using this style.
Not only can you not run when using this style, but movement is a lot slower than the other styles.
Fundamental Abilities of the Greatsword Style
Slam Attack

Pressing will launch a powerful overhead slam attack. Using this will leave you open to attacks, so it's risky to use it when surrounded by enemies.
Bullet Block

Both the greatswords and clubs are able to defend against both arrows and bullets. However, these enemies will create distance from Kiryu if he gets too close, so chasing them down using this style is not easy.
Obstacle Destruction
A great feature of this style is its ability to quickly destroy obstacles on the battlefield. It is able to break them significantly faster than any of the other styles.
Other Weapons
This section refers to special weapons which do not fall into any of the previous categories. The four types are detailed below. These weapons are useful in Gion, where you cannot equip swords. It is also possible to equip these special weapons outside of Gion, by using the 'Other' weapon equipment slot (the same slot used to equip greatswords or clubs)

These weapons don't compare to the power of the greatswords or longswords, but they are certainly more powerful than the brawler style.
Types of special weapons
Kiseru, Jitte

Single-handed weapon. Can be bought from Arigataya and the Weapon Shop from Chapter 5 onwards. Hitting an enemy with the full combo (3 hits) or a strong attack () will knock the enemy to the ground.
Umbrella
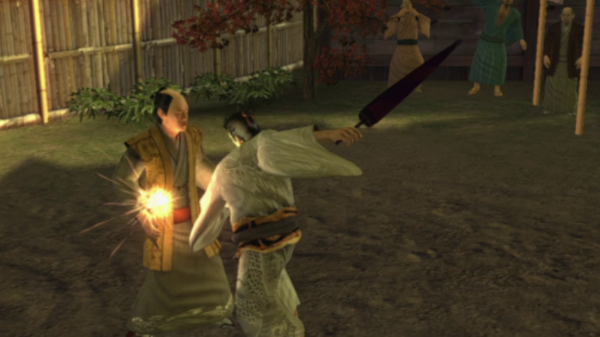
This is another light weapon held with one hand. Works the same way as the Kiseru and Jitte, but has greater attack range at the cost of slower attack speed. Can be bought from Arigataya from Chapter 6 onwards.
Tengu Staff
This is a spear-style weapon held with both hands. It has a big attack range and is powerful. This weapon is useful even outside of Gion. But you can't get hold of this until Chapter 9.
Kiryu's Abilities and Status
This section looks at gaining experience points and levelling up. It also explains how to build your heat gauge and the effects alcohol has on the gameplay. Kiryu's level influences the abilities and revelations he can learn, so it's helpful to understand how to gain experience points. Gathering heat is essential if you want to use heat actions, so it's important to understand how to build up your heat gauge.
Gaining Experience Points
There are four ways to gain experience in this game. However, be aware that the experience gained from the first way changes based on Kiryu's level. If Kiryu's level is too high, you won't gain experience for defeating enemies. The other ways of gaining experience don't have this level-based limitation, so to maximize experience gain for each chapter you could fight in random encounters until you no longer gain experience and then use other methods to gain even more.

The amount of experience you gain from requests varies, but requests which feature cutscenes will give you a lot of experience.
Ways to gain experience points
Defeat enemies
You can gain experience by defeating enemies in random encounters throughout the game. The amount of experience you can gain for each chapter is fixed and the higher Kiryu's level is, the less experience you gain. Furthermore, using heat actions against enemies (not including enemies in random encounters) will give you experience.
Completing Requests, Commissions and Bounties
You can gain experience by completing various substories throughout the game. For substories which involve fights, the experience you gain will vary depending on the enemy you defeated, much like in the main story. The amount of experience you gain can also vary depending on the choices you make during the substory.
Visiting Restaurants
You can gain experience by ordering food and drinks at restaurants. The amount of experience you gain varies depending on the food or drink, but the more expensive items tend to reward you with the most experience. You only get the full experience reward the first time you order an item - from the second time onwards you only get half the original experience.
Other
Besides the three main ways already explained, you can gain experience in the arena, or by watching shows at the theatre in Rakugai.
Levelling Up
As Kiryu increases in level, his abilities increase - these abilities are maximum health, maximum heat, power, and agility. Maximum health and power increase every level, while maximum heat increases every 10 levels and agility increases every 15 levels. With the exception of maximum heat, all these abilities will reach 1000 when Kiryu is at level 50 (max level). To get maximum heat up to 1000, you must also complete horse archery and scarecrow training.
Abilities that increase as you level up
| Ability | Description |
|---|---|
| Maximum Health | Relates to Kiryu's health gauge. This increases with every level. |
| Maximum Heat | This relates to Kiryu's heat gauge. This increases every 10 levels. |
| Power | This relates to the amount of damage Kiryu does to enemies. This increases with every level. |
| Agility | This relates to Kiryu's movement and attack speed. This increases every 15 levels. |
Gathering Heat
Heat is required to perform heat actions. The amount of heat you build up in battle varies depending on what you do. By using frenzy pills and all-purpose pills, which you can buy at a pharmacy, you can build up your heat gauge instantly at any time. But in times when you don't have any of those pills, you need other ways to build up heat. Below are 3 ways of building up your heat gauge.

You will lose heat if you get hit or knocked down by enemies.
Ways to accumulate heat
Taunt using the brawler style
A simple way of building heat that can be used right from the start of the game. Using the brawler style, face an enemy and press to use. But watch out because you will lose heat if you are attacked, so it's better to use this when you are a safe distance from the enemy.
Use Zanshin

A technique that can be used from part 1-1 of the story. This technique is explained in the "Combat Basics" section of this page, in the single-sword style section.
Learn the "Black Pride" ability

You can learn this ability via the Waterfall Training. This ability builds up your heat gauge when you defend against enemy attacks. This works with any fighting style, but is most useful with the two-sword style due to that style's omni-directional defending ability. This ability can be learned any time from part 7-3 onwards.
Intoxication
When you order alcohol from restaurants or drink alcohol you have bought from shops, an intoxication icon appears near the top-left of the interface. There are 5 different levels of intoxication, as described below. Over time, Kiryu's intoxication level will decrease, which will be indicated by the corresponding intoxication icon, and eventually disappear completely. You can also use sobering pills to reduce intoxication instantly.
When in exploration mode (i.e. not in battle), intoxication decreases at a rate of 1 per second. However, in combat this decreases at a rate of 1 every 20 seconds. See below for the pros and cons of intoxication.
Intoxication Levels
 |
Level 1: Intoxication between 11 - 200 |
 |
Level 2: Intoxication between 201 - 400 |
 |
Level 3: Intoxication between 401 - 600 |
 |
Level 4: Intoxication between 601 - 800 |
 |
Level 5: Intoxication over 800 |
Pros and Cons of intoxication
Pros
Regardless of intoxication level, you will accumulate heat at double the regular rate. The amount of heat you lose (e.g. when hit) is also halved. If you want to take advantage of this when going up against tough enemies during the story, it's a good idea to buy a bunch of alcohol items and drink them just before arriving at your destination.
Cons
The encounter rate increases when you are intoxicated. When your intoxication is level 1-3, encounter rate is 25% higher than usual. That becomes 50% higher when your intoxication is level 4 or 5.


